RECEIPTS TO PDF
How to scan receipts to PDF on iPhone
Workflow checked against the current ScanFile interface · August 17, 2026
Thermal receipts fade, curl, tear, and vanish into bags. A readable scan made near the time of purchase is easier to use for a return, reimbursement, warranty, or expense record.
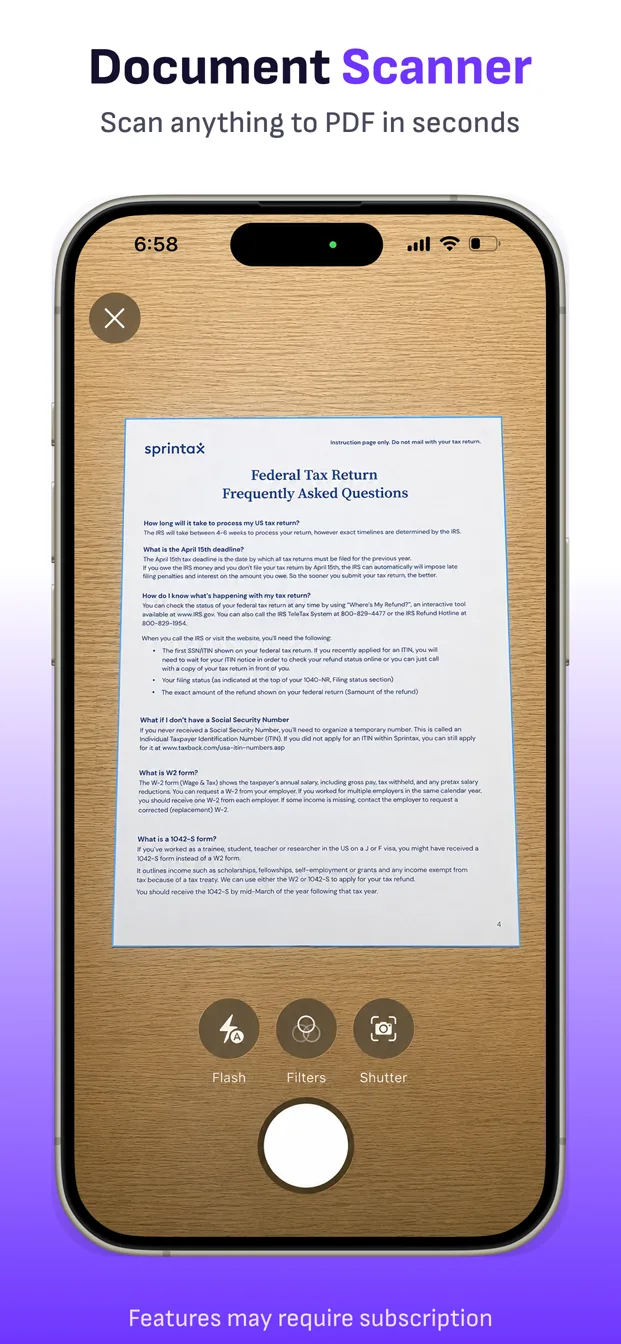
1. Flatten the receipt on a contrasting surface
Place a light receipt on a dark, matte surface. Smooth curled thermal paper without covering its corners. Avoid glass tables, glossy countertops, and strong side light that creates glare or a shadow across the merchant name, date, line items, or total.
2. Capture the complete receipt
Open ScanFile and choose Scan. Keep the top, bottom, and both side edges inside the camera view. For a long receipt, move farther away instead of cutting off the ends. Capture the page, inspect it, and tap Keep page only when the whole paper is present.
3. Improve faint thermal printing carefully
Use Tone in capture review or the saved document to compare Original, Color, Gray, and B/W. Choose the version that keeps small digits and light text readable. B/W can add contrast, but it can also remove pale details, colored stamps, or highlighted information.
4. Name the record so you can find it
Rename the saved scan with information you will recognize later. A practical pattern is date – merchant – purpose, such as “2026-08-17 – Hardware Store – Office supplies.” ScanFile stores the title and pages in its local library.
5. Keep related pages together
Use Add to attach a card slip, warranty page, return label, or reimbursement form when it belongs to the same record. Reorder the thumbnails before export so the main receipt appears first.
6. Export the receipt as a PDF
Tap Export and choose Email, SMS, or Phone. The Phone option opens the iOS share sheet for Files, AirDrop, Mail, or another installed destination. Open the exported PDF and make sure the total, date, merchant, and page count are readable.
Receipt scan checklist
- Merchant, date, subtotal, tax, and total are visible.
- The transaction or order number is not clipped.
- Small text remains readable after the selected tone.
- Any card slip or warranty page is attached only when needed.
- The file name explains what the receipt was for.
What this workflow does not automate
ScanFile preserves and exports the pages you capture. It does not categorize expenses, calculate taxes, sync an accounting ledger, or decide how long a business must retain a receipt. Follow the policy of your employer, accountant, tax authority, insurer, or warranty provider.
Save the receipt before it fades.
Create a readable local record and export it when needed.
Download ScanFile